
And again, and again, and again….
(Another tail of trials and tribulations)
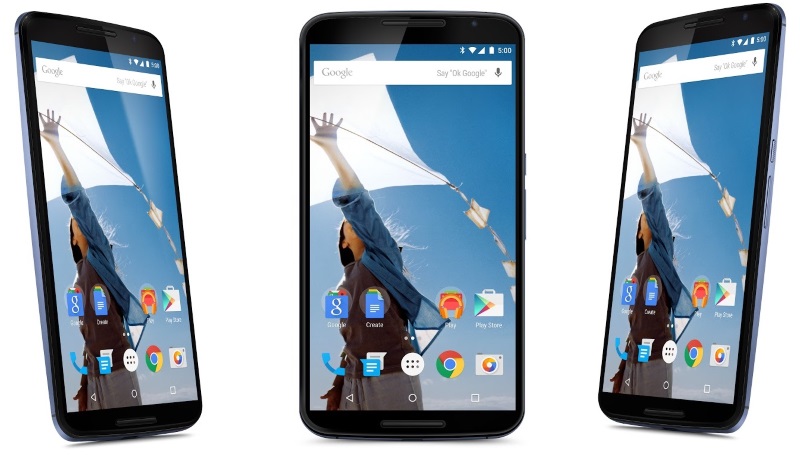
Last Oct (2014), Google announced a new Nexus phone, the Nexus 6. Code named ‘Shamu’, because its a massive whale of a phone: 5.96″ screen, quad-core CPU and a 3220 mAh battery. It was time for a new phone. My Galaxy Nexus was showing its age, not only in performance, but in display. The Super AMOLED screen was showing darker and darker gray lines across the screen that made viewing very hard and irritating.
Galaxy Nexus failing display – note the horizontal gray banding
So while I waited the 3 LONG months for someone (Google, Motorola, Amazon, T-Mobile) to have a Nexus 6 64GB Midnight Blue phone in stock, I decided to play around with Bootloader Unlocking, Rooting, and Flashing new ROMs.
It’s not that I wanted to flash a new ROM on the Nexus 6 when I eventually got it, its just that the old Galaxy Nexus was just really showing its age, being many releases behind the current Lollipop and slowing as the memory got more and more fragmented (I guess).
I did want to Unlock, load a Custom Recovery and Root the Nexus 6 so that I could load some specific software that require Root access and be able to make a complete backup of the phone in case anything happened. You can’t backup an entire Android Phone unless you have Root access and a Custom Recovery.
Playing around with the old Galaxy Nexus would give me the experience I needed to handle all that once I got my hands on the Nexus 6 (Shamu).
So on the Galaxy Nexus, I Unlocked the Bootloader, Rooted, flashed a custom Recovery (TWRP) and then flashed a custom ROM (CyanogenMod) v4.4.4 (the last iteration of KitKat). I thought all was good.
I slowly found out that really was not the case….
Little bugs in the CyanogenMod:
- The clock would disappear from the notification bar.
- The torch could be turned on at the Screen Lock, but you could not turn it off from there.
- It would drop one WiFi in favor for another at random times without moving around.
- WiFi would not auto-connect when I came home.
- Some apps didn’t work right anymore.
- The battery would drain quicker than it could be charged and only a reboot would clear it.
- Then days after I got my Nexus 6 as was trying to copy files off the Galaxy Nexus, it would fail to connect to the PC when I plugged the USB cable in, unless I rebooted the phone.
- It would also lock up when trying to copy certain files and I’d have to reboot the phone to get it to copy.
I started feeling sorry for the people in India with their OPPO phones running CyanogenMod for all the problems and bugs in their software. CyanogenMod has been quoted as saying “We want to take Android away from Google”…good luck with that guys, your ROMs kinda suck.
Eventually, I got all my files and media copied off. After that I’d had enough of CyanogenMod and flashed the Galaxy Nexus back to stock Android ROM and Recovery, Unrooted and re-locked the Bootloader. It seems to be much happier now.
However, my grief was just beginning.
I had read a lot about the drawbacks of Unlocking the Bootloader, Rooting and flashing a Custom Recovery. But apparently, there was a lot they left out.
I got a program called Nexus Root Toolkit, which is a slick little piece of software that makes all of this easy to do. Unfortunately, it still has some bugs and is not for the faint of heart.
Here’s a brief history of what happened to me in trying to Unlock the Bootloader, Root and load a custom Bootloader on my new Nexus 6.
Unlocked the Bootloader
This wipes the phone, but I knew that beforehand and was prepared. There was nothing extra on it anyway being it was brand new.
Root
This also wipes your device, which I didn’t know beforehand. But then I discovered you cannot load OTA (Over The Air updates) with Root and/or a Custom Recovery. This meant I had to download the entire 5.0.1 OS (185MB) and flash it manually. I would have to do this for every update. Oh, and BTW, this would wipe the device, thus removing all added software and settings.
Custom Recovery
With a Custom Recovery, you couldn’t just flash a new Google Android ROM, because those ROMs assume you have a standard Recovery, not Rooted and not OEM Unlocked, so certain items are not included. Instead you have to ‘force’ the ROM to load, skipping those items and validations – which is kinda scary.
Oh, and did I mention that loading a new ROM, instead of an update mean that the phone would be wiped clean every time and you’d have to reload all your added software and settings? ARGH!
And another thing, loading a new ROM wipes your Custom Recovery, so you couldn’t back up your phone again unless you re-flashed a custom recovery, thus wiping your phone, AGAIN!
Just when I finished doing all this and had reloaded most of the APPs that I wanted, I noticed that my Total Storage on the phone was only 23GB. This was a 64GB phone! It should have at least 50GB Total storage for apps. ARGH! Again!
Contacting Motorola was no help at all. They said it was ‘normal’ and that they’d pass me over to Second Tier support in 24 hours to have them take a look. That was a waste of time.
So I dug around on the internet regarding the Nexus Root Toolkit and found others had the same problem with that software cutting their Total Storage in half. The solution? Re-lock the Bootloader.
Easy Enough.
But what they didn’t say was that this would WIPE YOUR PHONE and you’d loose all your apps AGAIN!
All through this, the Nexus Root Toolkit software warns you to make a backup of your phone beforehand. But what they don’t tell you is that if you load a Custom Recovery, or a different ROM version or Custom ROM, your backup is worthless. You can only restore in on the same Recovery and Same ROM it came from.
It can all be summarized this way:
- Backup your phone
- Now throw the backup away – its worthless
- Bootloader Unlock your phone and loose all your added software and settings. You can’t do OTA updates now.
- Root your phone, again loose all your added software and settings
- Flash a Custom Recovery. Now you have to flash entire ROM versions and ‘force’ them in unchecked.
- Now your phone has half the storage and you can’t update its ROM without wiping everything.
- Flash back to Stock and Unroot it. You’ve lost all your added software and settings again.
- Re-OEM Lock your phone to get the full storage back…and lose all your added software and settings again.
- Now you’re back to full factory stock – right where you started.
So now my Nexus 6 is back to fully factory stock, having come full circle. I’ve learned my lesson. Unless you’re a masochist and like dorking around with your phone all day every day, rooting, unlocking, custom recoveries and custom ROMs are not for you – or me.
BTW: Midnight blue is more like lite-grey blue and its butt-ugly, so I bought a new case in Black…because there is only one true color.