Backstory
Many months ago I bought a cheap refurbished Linksys E1550 Wireless Router. I wanted it so I could install DD-WRT firmware and get some needed additional functionality not found on the stock Linksys firmware.
If you know where I live, then you know what I needed…
At any rate, I did all the right things and followed the directions for my router by flashing the mini-E1550 firmware, then flashing the big-nv60k firmware. All went well, it even showed the feature I wanted, yet I could not get it to work. Seeing as the ‘suggested’ firmware was over 3 years old, I went looking for a newer version that was less buggy.
FYI: Every firmware file on the DD-WRT site is listed as ‘beta’. There are no Final Releases, Release Candidates or even ‘Stable’ versions. There appears to be no real change log or bug list (at least any newer than 3 years). After 30 years in the IT industry, I would call all this mess just a “dirty hack”. So, if you are looking to load DD-WRT on your router…BEWARE!
So I starting downloading newer versions of their firmware for my router and quickly discovered that the wireless radio in each and every one did not work. I went through a year’s (2013) worth of versions (all ‘beta’ of course, and apparently untested), until I came across one posted on the week of Christmas and flashed that one…BIG MISTAKE.
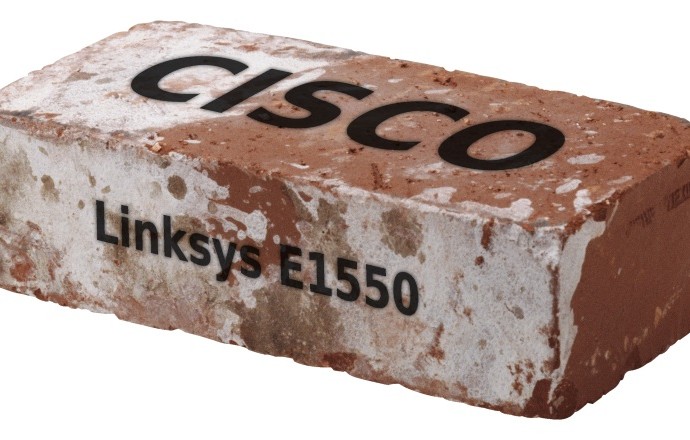
My router was Bricked: No web page, no radio, no response to pings, nothings. However, it did flash the power light 3 times before going dark and did respond to Pings 4 times with ttl=100 before becoming ‘unreachable’. The DD-WRT forums are replete with discussions from others who had bricked their router, unsurprisingly. And they all suggested that it was still possible to recover from that and ‘unbrick’ it (debrick?).
Unbricking Attempts
The DD-WRT site has ‘peacock‘ (little cock?) page that describes in rambling, unformatted, directionless, cryptic details how to properly flash and also recover from a bad flash. It’s called the ‘peacock’ announcement probably because giving it a real, meaningful title would be too logical and be too easy to find. (Formatting it into useful sections, headers and topics was apparently too much work as well)
So I followed the directions for debricking via TFPT and a direct network cable connection to the router. I tried it at least 2 dozen times with different firmware from DD-WRT, LinkSys, Tomato, anything that I could find that said it would run on my router. Nothing worked.
It’s interesting to note that directions on the ‘peacock’ page say you need firmware that is less that 3MB in size in order for it to work – that doesn’t exist. And responses from my postings on their message board forums indicate that is just not the case. Any size firmware file will work: evidence, again, as to just how old, outdated, and unreliable the ‘peacock’ information really is.
So after weeks of trying the software approach, cursing, pulling-hair out, I gave up and bought a cheaper LinkSys E900 router. There are also notes on the ‘peacock’ page on how to unbrick using a direct serial cable to the 5-6 pin serial port on the router’s main board. It requires a device called a JTag – which it costs more than the router did.
So I shelved the E1550 and went on.
That was 5 months ago.
JTag Alternative
Even more evidence to just how crappy and old/outdated the ‘peacock’ page is, I recently discovered an alternative to a JTag setup that only costs about 15¥ ($2.50). It’s a USB-TTL adapter cable. And I found this out by posted another message on their forum about how to debrick my E1550 router.
At any rate, seeing as my router’s main board only has holes and no pins for the Serial interface, I was going to have to buy header pins and solder them on. With no Soldering Iron, Solder, header pins or a USB-TTL adapter cable, I headed over to taobao.com (my favorite online shopping site full of cheap, fake, gray-market stuff – often sold by unscrupulous dealers). If you are very careful and do your research, you can get some really good bargains from honest, hard-working dealers who really do care.
So about 50¥ (~$8) and two days later, I got all my equipment and went to work. It was still about 150¥ cheaper than buying another LinkSys E1550 router, so I was still working in the black.

LinkSys E1550 Wireless Router Guts
What I don’t get with this LinkSys E1550 main board is all the empty space! Save for a few capacitors and chips, its all empty green space. Even underneath its just a handful of micro resistors. Is all that for a good grounding plane for a stronger/cleaner WiFi signal, or just an attempt to make it seem more expensive because its ‘bigger’? Hell, it could be half that size and still have wide open green spaces.
Well, the soldering job I did was about the crappiest ever – cold solder joints and big blobs of solder. My hands and eyes just aren’t what they used to be. So now 5 pins fill those holes and I have about 2,495 extra header pins that I have no idea what to do with! (The dealer only sold in batches of 50 strips of 50 pins each…)

It’s the ‘Operation’ game…don’t touch the edges!!
So I disabled the WiFi, plugged in the network cable from my PC to Port1 of the router and then plugged in the USB to TTL adapter to the header pins and the USB port on my PC. Then followed these instructions.
After erasing NVRAM, flashing the stock ROM and entering ‘GO’, a whole slew of commands and messages flew by! After a few minutes it settled down to just repeating UPnP Notifications and appeared to be done.
Checking the Router’s setup page, I found the all familiar LinkSys pages and setting. IT LIVED AGAIN!!
What an ordeal!
I’m leaving it stock firmware for now. I need it that way to test other projects with anyway.
Whew…